

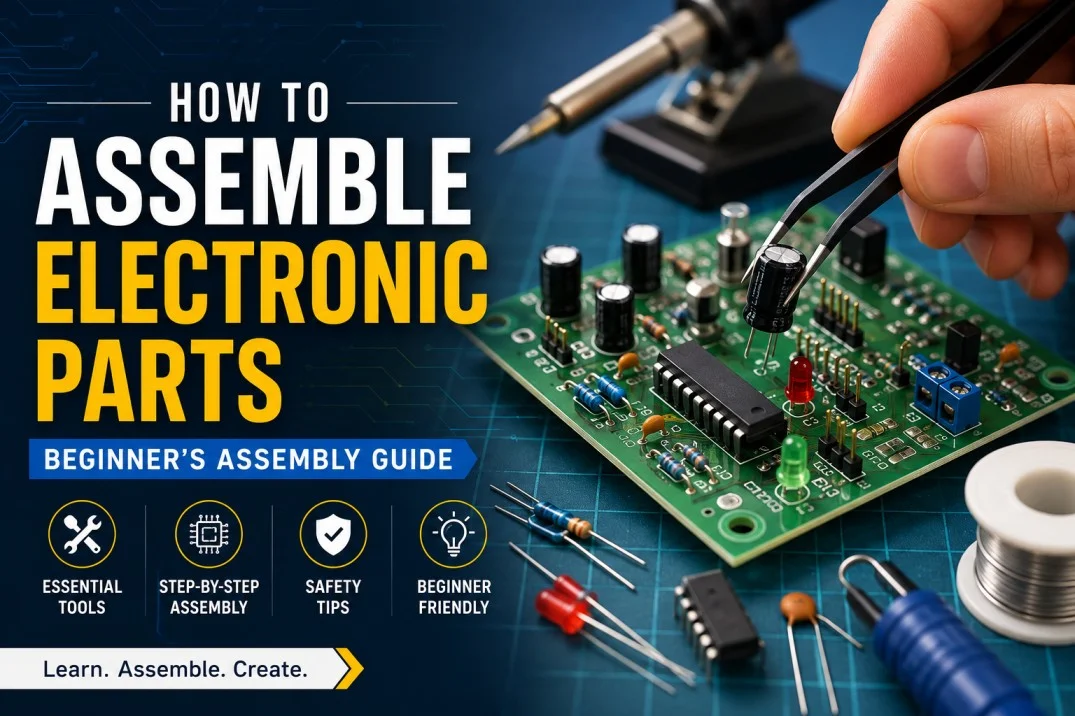
Learning how to assemble electronic parts is a valuable skill for hobbyists, students, engineers, and anyone interested in electronics. Whether you’re building a simple LED circuit or working on a complex printed circuit board (PCB), understanding the assembly process helps ensure your project functions safely and reliably.
This guide explains the assemble electronic parts meaning, the basic tools you’ll need, common assembly methods, safety practices, and tips to improve your skills.
What Does “Assemble Electronic Parts” Mean?
The asseelectronic componentmble electronic parts meaning refers to the process of connecting individual s into a working circuit or device. These components may include resistors, capacitors, diodes, transistors, integrated circuits (ICs), connectors, and switches.
Assembly can involve placing components on a printed circuit board (PCB), soldering them into position, testing the connections, and ensuring the finished product works as intended.
Electronic parts assembly is used in everything from consumer electronics and automotive systems to industrial equipment and medical devices.
What Is Electronic Parts Assembly?
Electronic parts assembly is the complete process of turning individual components into a functional electronic product.
The process usually includes:
- Selecting components
- Reading circuit diagrams
- Placing components correctly
- Soldering electrical connections
- Inspecting the finished assembly
- Testing the circuit
Manufacturers perform electronic parts assembly on a large scale using automated equipment, while hobbyists and students often assemble circuits by hand.
Common Electronic Components
Before you begin assembling electronic parts, it’s helpful to understand the basic components.
Resistors
Resistors control the flow of electrical current within a circuit.
Capacitors
Capacitors store and release electrical energy when needed.
Diodes
Diodes allow electricity to flow in only one direction.
Transistors
Transistors act as electronic switches or amplifiers.
Integrated Circuits (ICs)
ICs combine multiple electronic functions into a single chip.
LEDs
Light Emitting Diodes (LEDs) produce light when electricity passes through them.
Connectors
Connectors allow different electronic components or cables to be joined together.
Tools Needed to Assemble Electronic Parts
Having the right tools makes the assembly process easier and safer.
Basic tools include:
- Soldering iron
- Solder wire
- Wire cutters
- Needle-nose pliers
- Tweezers
- Multimeter
- PCB holder
- Safety glasses
- Desoldering pump or braid
For more advanced work, magnifying lamps and hot air rework stations can also be useful.
Step-by-Step Guide to Assembling Electronic Parts
1. Read the Circuit Diagram
Study the schematic carefully before placing any components.
Understanding the circuit helps prevent assembly mistakes.
2. Organize Components
Separate components according to their values and labels.
Keeping parts organized reduces confusion during assembly.
3. Prepare the PCB
Inspect the printed circuit board for damage or manufacturing defects before beginning.
4. Place Components
Insert each component into the correct location according to the PCB markings or schematic.
Pay attention to polarized components such as:
- LEDs
- Diodes
- Electrolytic capacitors
- Integrated circuits
Incorrect orientation may prevent the circuit from functioning properly.
5. Solder the Components
Heat both the component lead and the PCB pad before applying solder.
A good solder joint should appear:
- Smooth
- Shiny
- Evenly shaped
Avoid using excessive solder, which can create short circuits.
6. Trim Excess Leads
After soldering, use wire cutters to remove excess component leads.
7. Inspect the Assembly
Carefully examine the board for:
- Cold solder joints
- Solder bridges
- Missing components
- Incorrect placement
Correct any issues before powering the circuit.
8. Test the Circuit
Use a multimeter to verify continuity and measure voltages where appropriate.
Testing helps identify problems before the device is put into regular use.
Common Assembly Methods
There are several techniques used for assembling electronic parts.
Through-Hole Assembly
Components are inserted through holes in the PCB and soldered on the opposite side.
Advantages include:
- Strong mechanical connections
- Easy manual assembly
- Ideal for beginners
Surface Mount Technology (SMT)
SMT components are mounted directly onto the PCB surface.
Benefits include:
- Smaller circuit boards
- Faster automated manufacturing
- Higher component density
SMT is widely used in modern consumer electronics.
Safety Tips
When working with electronics, always follow basic safety precautions.
- Wear eye protection.
- Work in a well-ventilated area.
- Handle hot soldering irons carefully.
- Disconnect power before modifying circuits.
- Keep your workspace clean and organized.
- Follow manufacturer instructions for electronic components.
Proper safety practices reduce the risk of injury and equipment damage.
Read Also : Are DVDs Worth Anything? Value Guide for Old Collections
Common Mistakes to Avoid
Beginners often encounter similar problems during assembly.
These include:
- Installing components backward
- Using too much solder
- Overheating sensitive components
- Skipping inspection
- Forgetting to verify resistor values
- Applying power before checking the circuit
Taking your time helps avoid these common mistakes.
Tips for Better Electronic Parts Assembly
To improve your skills:
- Practice on simple kits first.
- Label components before starting.
- Keep your soldering iron tip clean.
- Use quality tools.
- Test frequently during assembly.
- Double-check component orientation before soldering.
Consistent practice leads to cleaner and more reliable assemblies.
Applications of Electronic Parts Assembly
Electronic parts assembly is used in many industries, including:
- Consumer electronics
- Automotive systems
- Telecommunications
- Medical equipment
- Aerospace
- Industrial automation
- Robotics
- Home appliances
The principles remain similar whether you’re building a hobby project or manufacturing complex electronic products.
Final Thoughts
Learning how to assemble electronic parts is an excellent way to build practical electronics skills. From understanding the assemble electronic parts meaning to mastering soldering techniques and safety practices, every step contributes to creating reliable and functional circuits.
Whether you’re assembling a DIY electronics kit, repairing a device, or studying electronics, following a structured assembly process and using the proper tools will help you achieve better results. With patience, attention to detail, and regular practice, you’ll become more confident in assembling electronic parts and tackling increasingly complex projects.
Frequently Asked Questions
What does assemble electronic parts mean?
It refers to the process of connecting individual electronic components into a functional electronic circuit or device.
What is electronic parts assembly?
Electronic parts assembly is the process of placing, connecting, soldering, inspecting, and testing electronic components to create a working product.
What tools are needed to assemble electronic parts?
Basic tools include a soldering iron, solder wire, wire cutters, tweezers, pliers, a multimeter, and safety glasses.
Is assembling electronic parts difficult?
Beginners can learn the basics with practice. Starting with simple projects and following clear instructions makes the process easier.
Why is testing important after assembly?
Testing helps verify that all components are connected correctly and that the circuit operates as intended before regular use.